uGo — Operating Manual
Every screenshot on this page was taken from the current build on 27.08.2026, against the chassis simulator, at 1280 × 800 — the size of the tablet at the robot. Nothing here is a mock-up. Where a screen shows no data, it is because the simulator has none, and the empty state is what a freshly commissioned robot really looks like.
The surface exists in six languages. The pictures show German; the language is switched with the button at the top right, and the switch takes effect immediately without a reload.
1. The bar that is always there
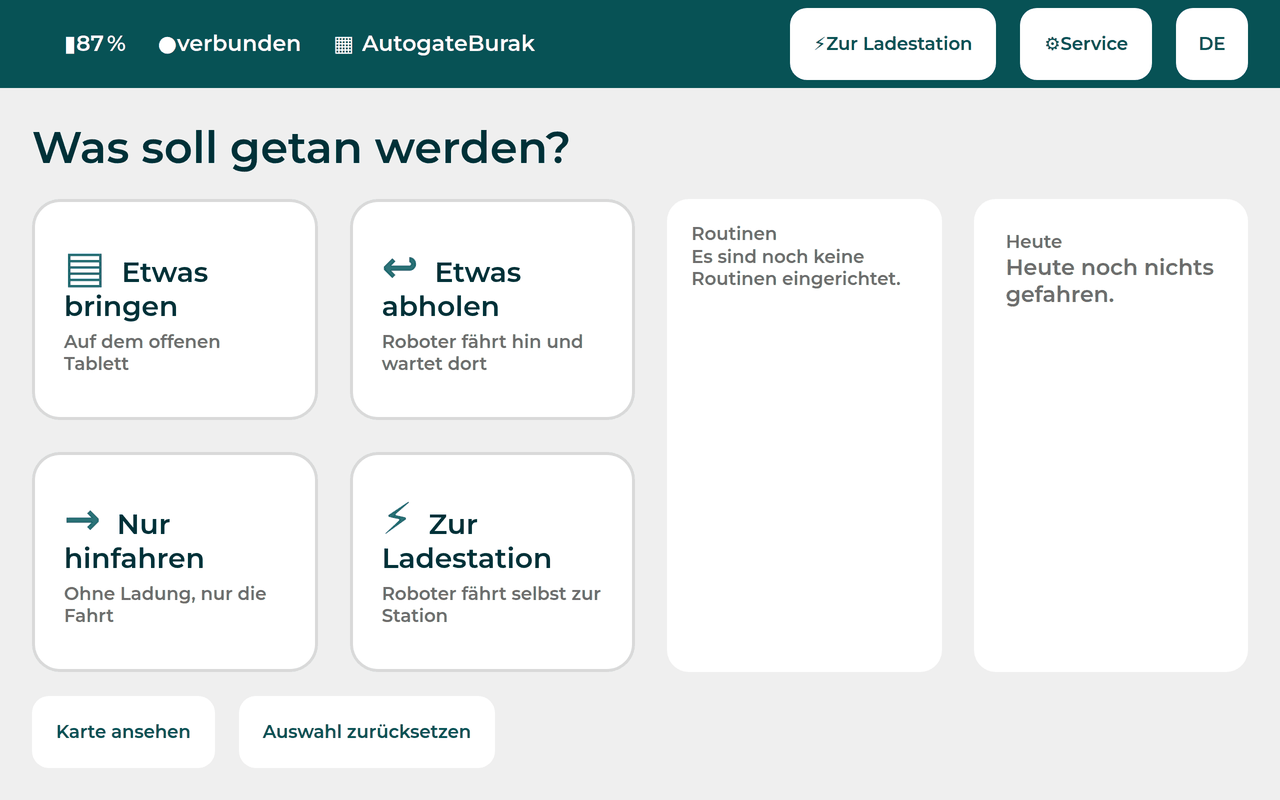
Left to right: charge level, connection to the chassis, and the name of the map the robot is currently localised on. Those three answer the question a person standing in front of the robot actually has — is it alive, does it know where it is, and how long will it last — before they have touched anything.
On the right: to the charging station, service, and the language. The charging button is on every screen deliberately. Sending a robot to its charger is the one action that is always safe and always allowed, and it must never be more than one press away.
2. Starting a transport
The start screen asks one question — what should be done? — and offers the answers as tiles. Which tiles appear depends on what the machine can do: a chassis with an open tray offers other tiles than one that lifts a rack.
| Tile | What it means |
|---|---|
| Bring something | Load onto the open tray, choose a destination, the robot drives there |
| Collect something | The robot drives to a place and waits there for someone to load it |
| Just drive there | No load, only the trip. Used for repositioning and for testing |
| To the charging station | The robot drives to its charger by itself |
Two columns on the right show routines — the jobs that run on a schedule or on a call button — and today, the distance driven so far. Both are read-only on this screen; they exist so that the person in the corridor can see whether the robot is busy before they ask it for something.
Choosing the destination
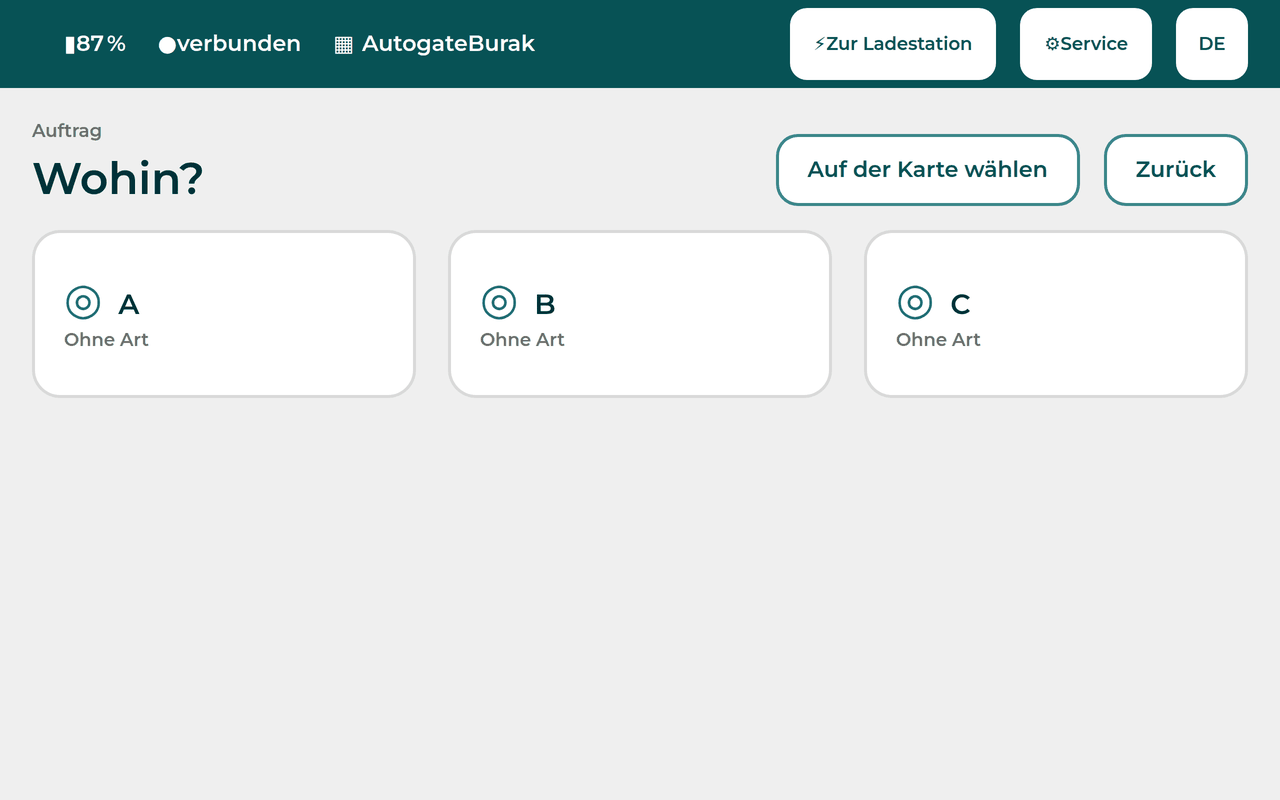
The destinations are the named points of the current map, exactly as a technician created them. Choose on the map switches to the plan view for anyone who knows where they mean but not what it is called.
A destination that another robot has already claimed does not disappear from this list — it is shown as occupied. Hiding it would be worse: the person would conclude the point is gone and go looking for a technician.
While driving
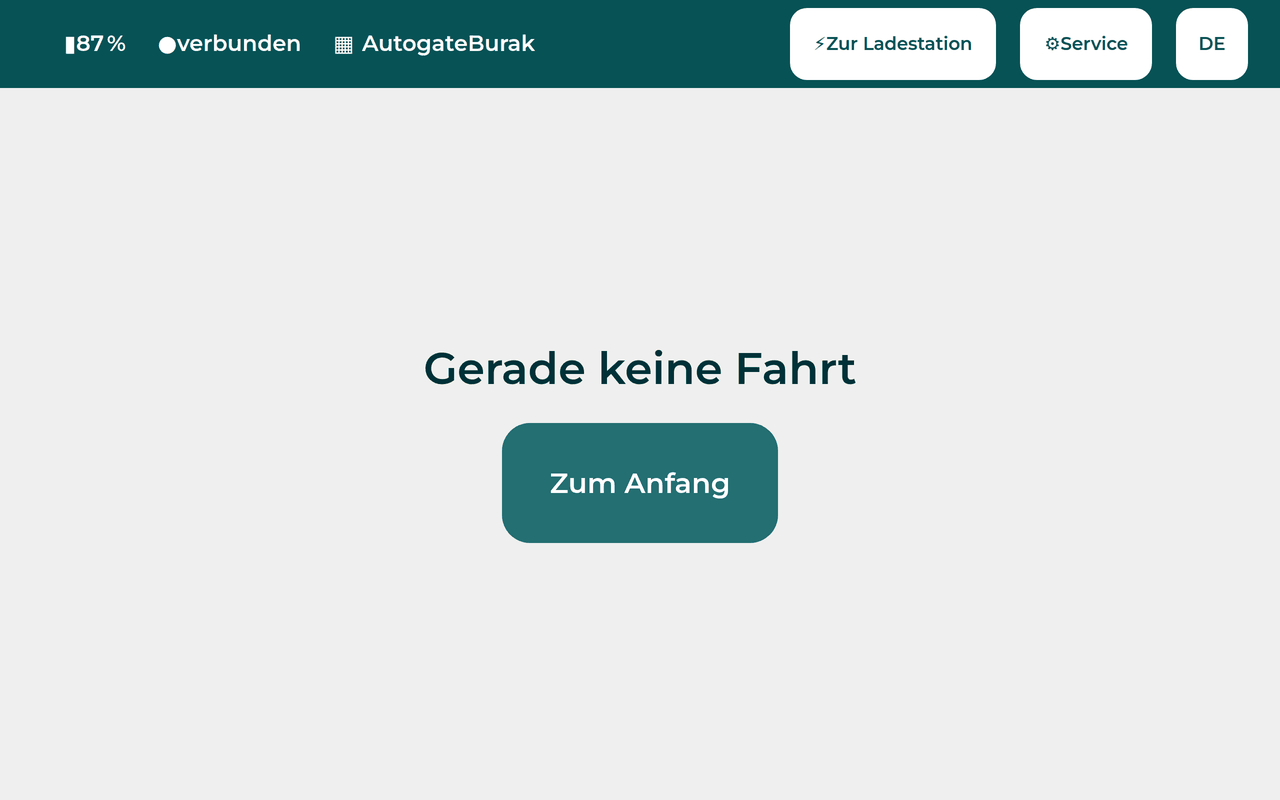
One screen, one job: where it is going, how far along it is, and how to stop it. The stop is the largest control, and it needs no sign-in — see Safety.
3. The map
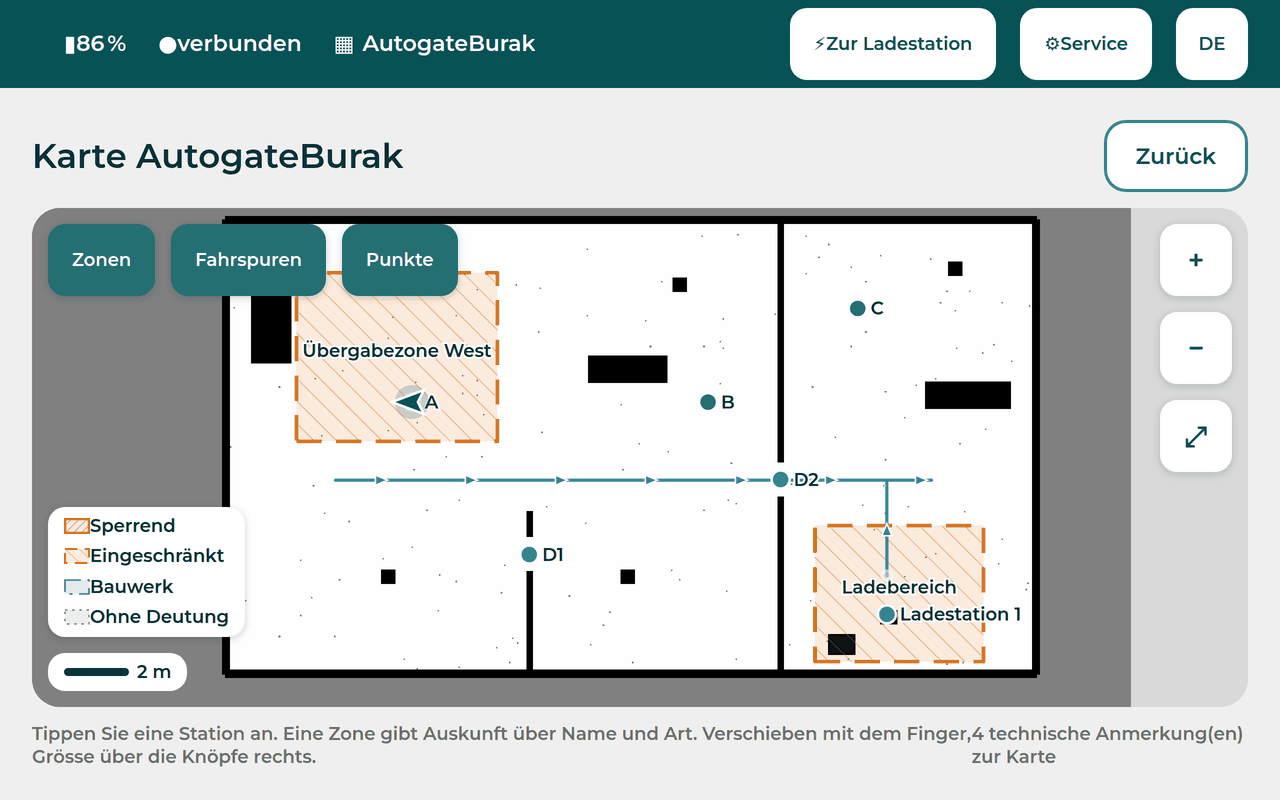
The plan view draws four things, each switchable: zones, driving lanes, points, and the robot itself. The legend at the bottom left names the zone classes in the language of the person looking, not in the vendor's numbering — blocking, restricted, structure, not interpreted.
That last entry is the interesting one. A zone whose class we have not measured is drawn, but it is drawn as not interpreted rather than guessed at. A wrongly labelled blocking zone looks exactly like a correct one, and the robot drives into it either way.
The scale bar is a real scale bar: it is derived from the map's grid resolution, so a person can judge distances rather than estimate them.
Points carry their name. Charging stations are drawn as a pair — the dock and the approach point in front of it — because that is what they are on the chassis, and treating them as one point is how docking attempts fail.
4. Charging
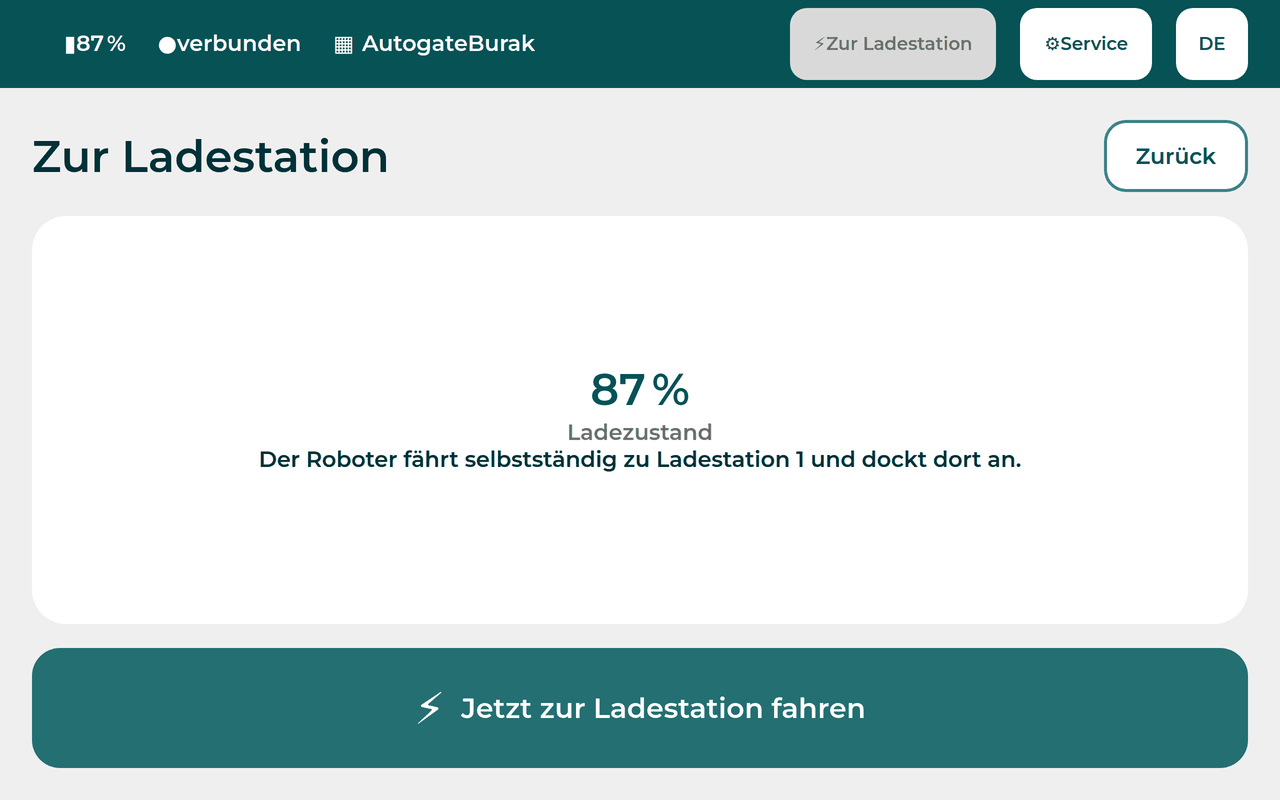
The charging screen shows the state of the charge and, if the robot is on its way to the charger, the trip. Charging behaviour itself is automatic and is a policy, not a button: below a threshold the robot signs itself off from new jobs and goes to charge; a lower, hard limit interrupts even a running job, charges to a defined level and then continues it.
5. The logbook
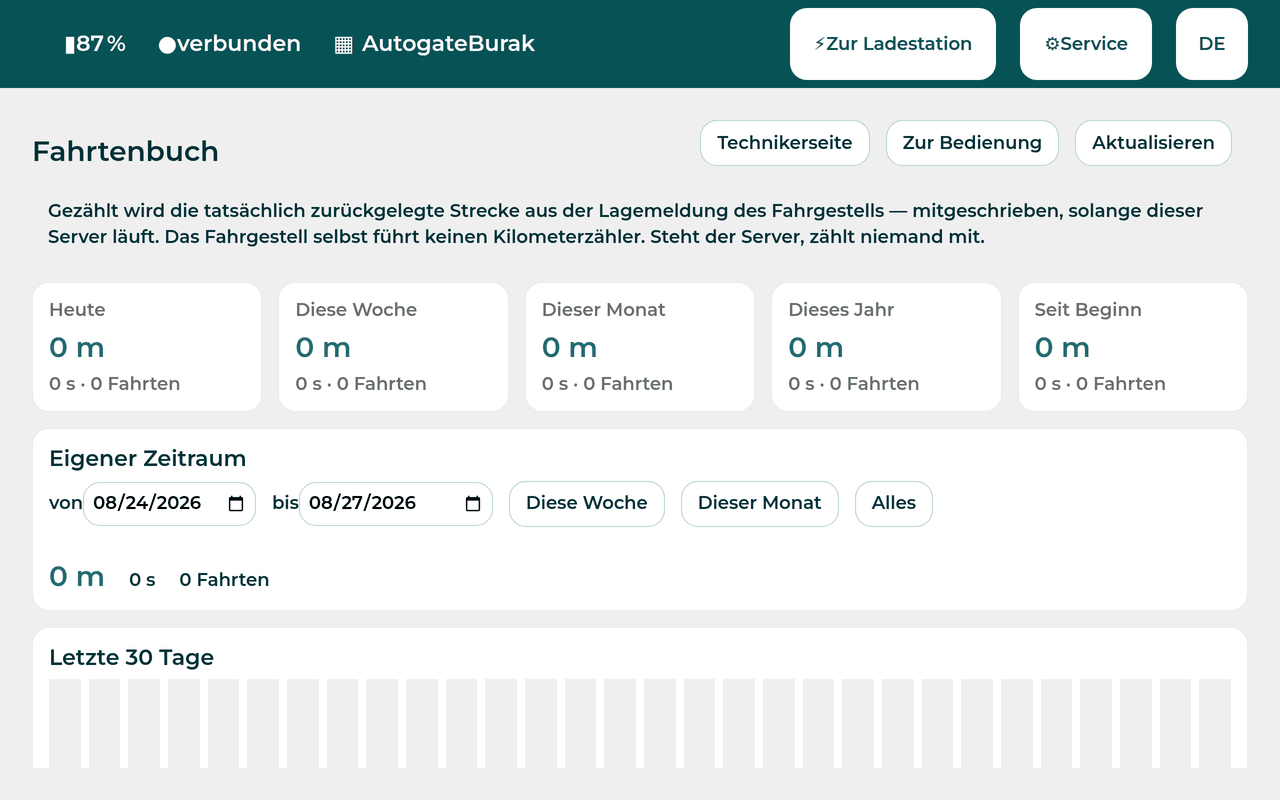
Distance, driving time and number of trips — today, this week, this month, this year, since the beginning, plus a free date range and a bar chart of the last thirty days.
The sentence at the top of that screen belongs in this manual too, because it is the honest part: the chassis has no odometer. What is counted is the distance derived from its position reports, recorded while our server is running. If the server is stopped, nobody counts. That is why the number on this page is a good operating figure and not a legal one.
6. When something goes wrong
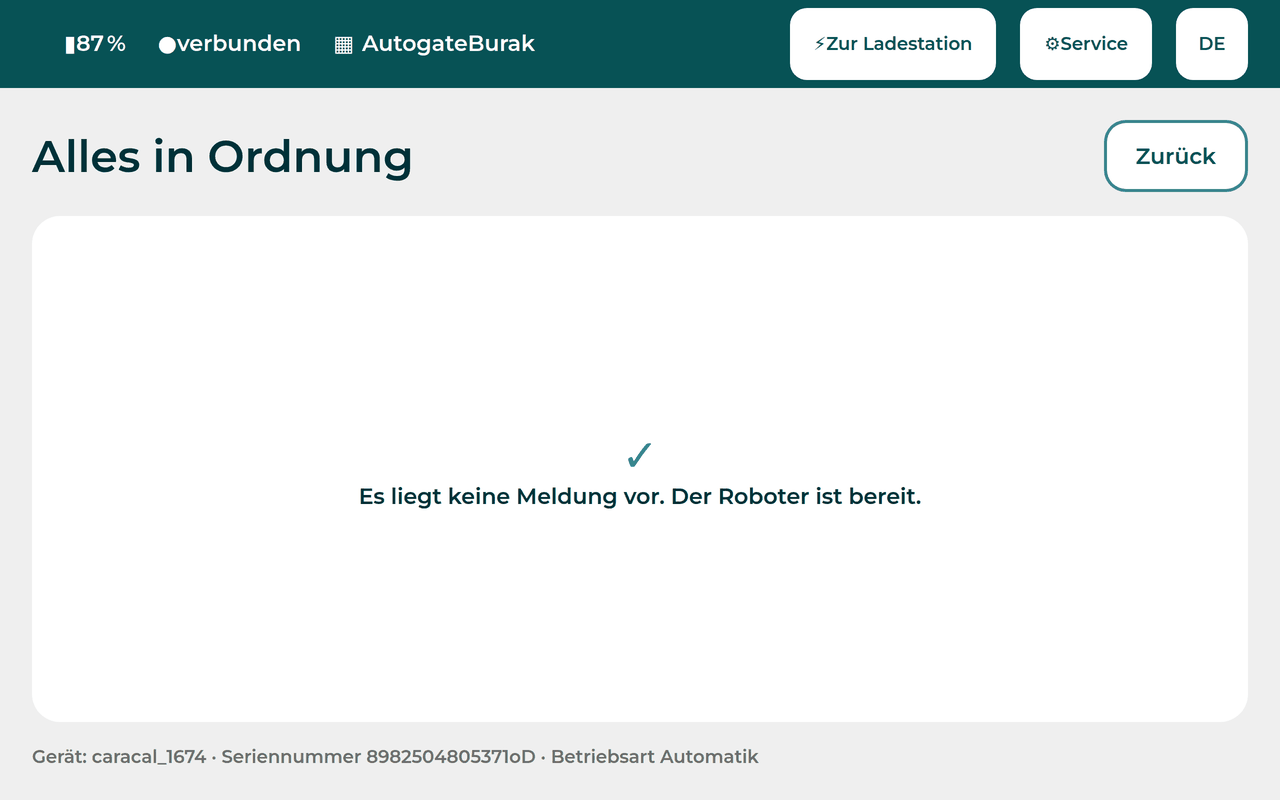
A fault takes over the whole screen. It says what happened in the language of the person reading it, and it says what to do next. It does not show an error code as its headline — the code is there for the technician, further down.
7. The second display

Some machines carry a second screen facing the person being served. It shows the same job from the other side and takes no input.
8. Signing in
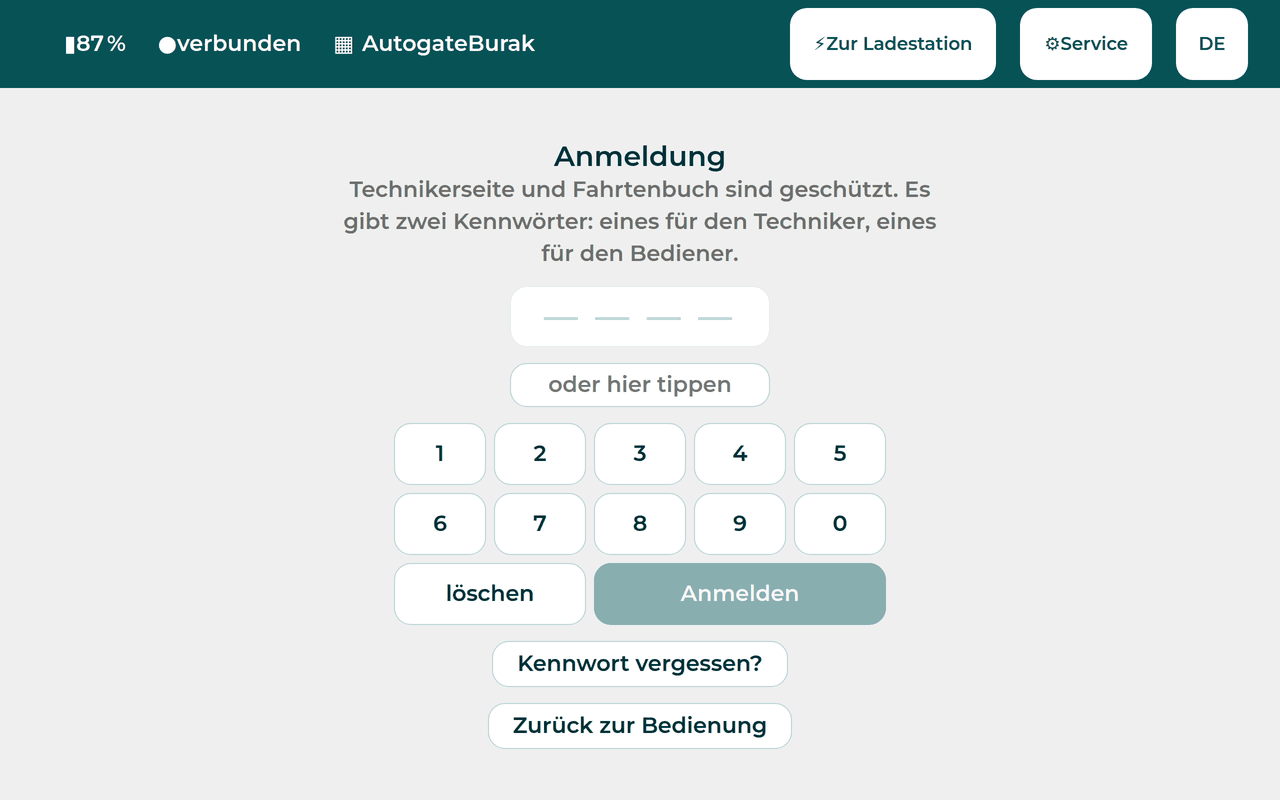
Two roles, distinguished by which password is entered: operator and technician. An operator sees the logbook; a technician sees everything.
A device on which no password has been set requires no sign-in at all, and says so. That is deliberate — a freshly unpacked robot must be usable — and it is exactly why setting a password belongs on the commissioning checklist rather than in a later maintenance visit.
9. The technician page
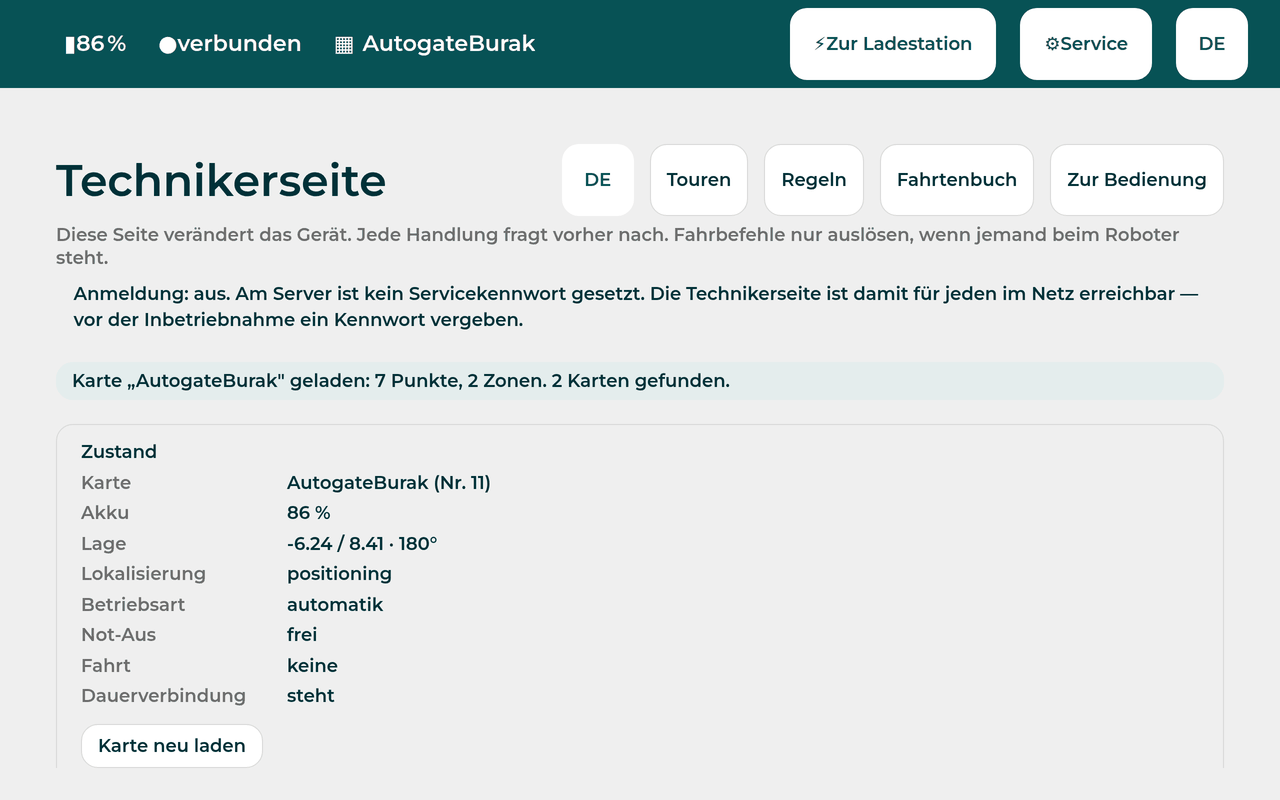
Everything that changes the device lives on one page, and every action on it asks first. The warning at the top is not decoration: driving commands from this page move a real robot, and whoever presses them should be standing next to it.
The page has twenty-nine sections. Grouped by what a person is actually there to do:
| Group | Sections |
|---|---|
| Understand the state | State · What has happened since start · Services · Discarded packets |
| Maps | Maps · Map archive · Set position ("place the needle") · Points of the map · Zones · Recordings on the device · Map overlays as raw data · Record a map |
| Drive and test | Drive · Lift and people |
| Fleet | Fleet · Group · What is currently claimed |
| The building | u-IoT (door, lift, call button) |
| The device itself | Device · Attachments · Clock · Second display · Idle image |
| Access | Passwords · Set technician password · Operator · Forgotten password |
| Records | Logs · Settings |
Three of them deserve a note in a manual rather than only in an interface description:
Set position. After a robot has been carried, pushed or restarted somewhere unexpected, it does not know where it is. This is where a person tells it. Everything else on the page depends on this being right.
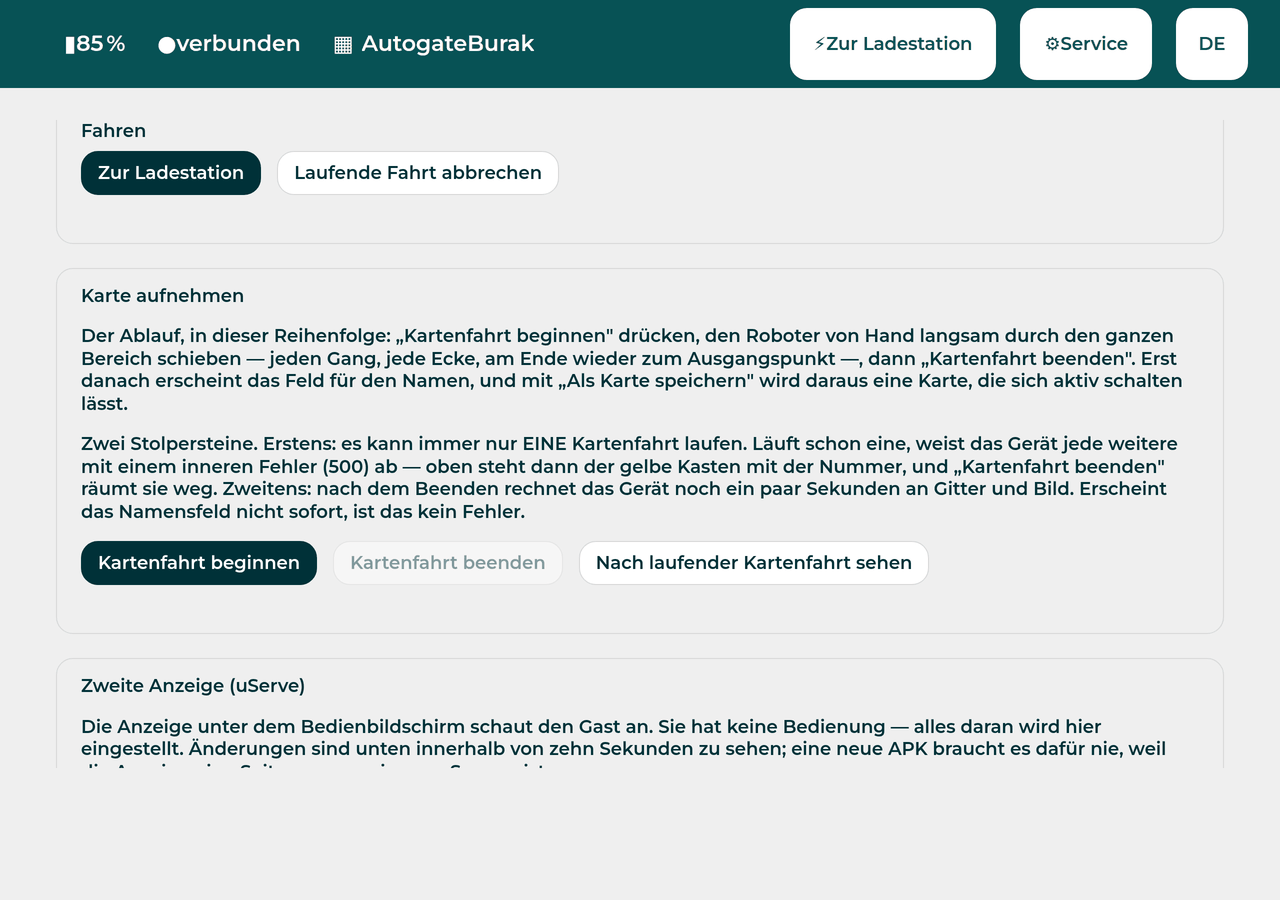
Driving from this page is deliberately blunt: a destination, a confirmation, and a stop. It exists for commissioning and for testing, not for daily operation — daily operation is the operator surface and the tour schedule.
Zones. Zones are drawn here and written to the chassis.
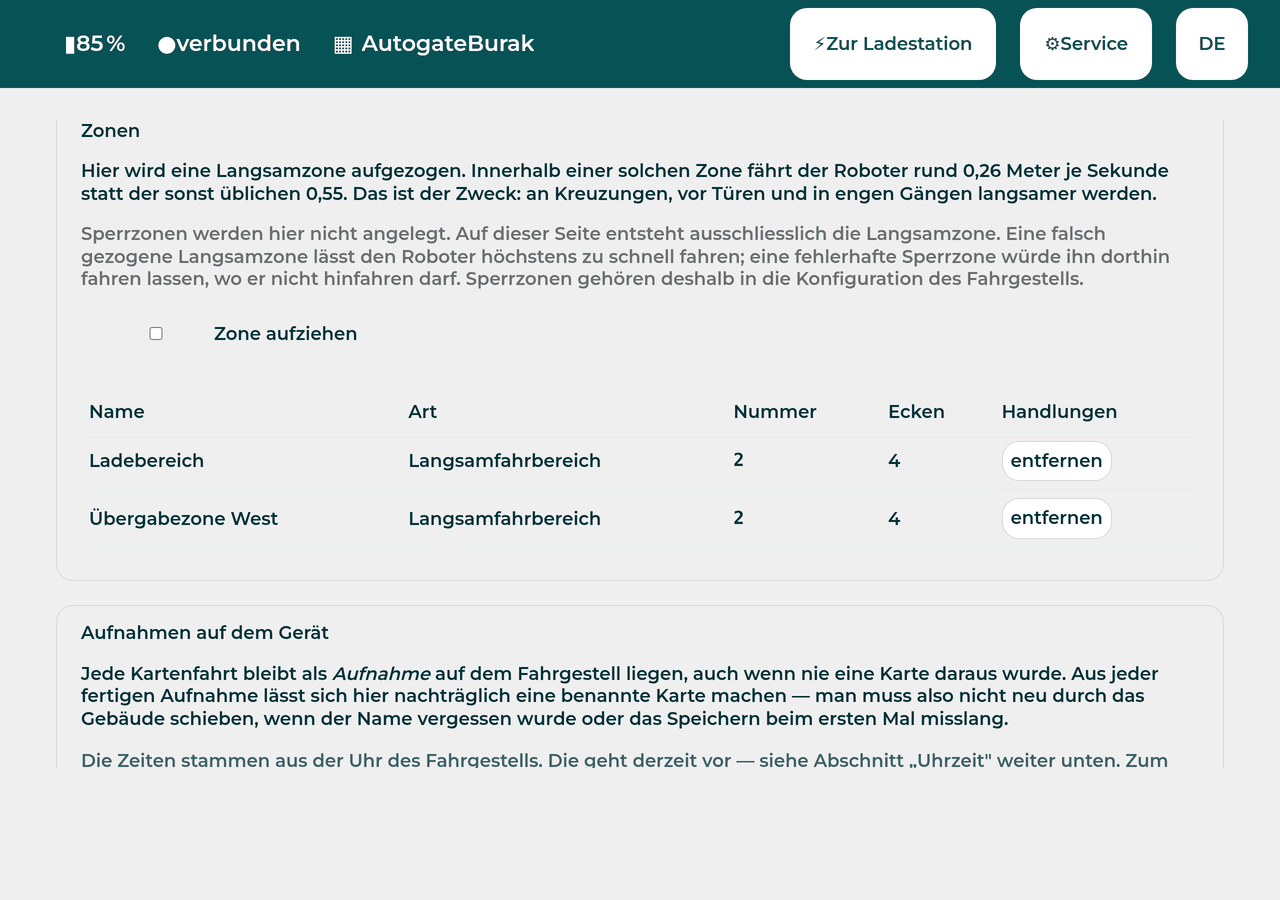
The type selector offers every class we have measured and marks the ones whose effect has been measured — as opposed to merely their number. Only one class has a measured effect today, and the page says so rather than implying the rest work. A number that is known and an effect that is known are two different pieces of knowledge, and a technician drawing a zone around a staircase deserves to be told which of the two they have.
Fleet and what is currently claimed. This is where a technician sees the other robots as the robot in front of them sees them: who is where, on which map, and what they have claimed. If two robots are misbehaving around one charger, this section is where the answer is.
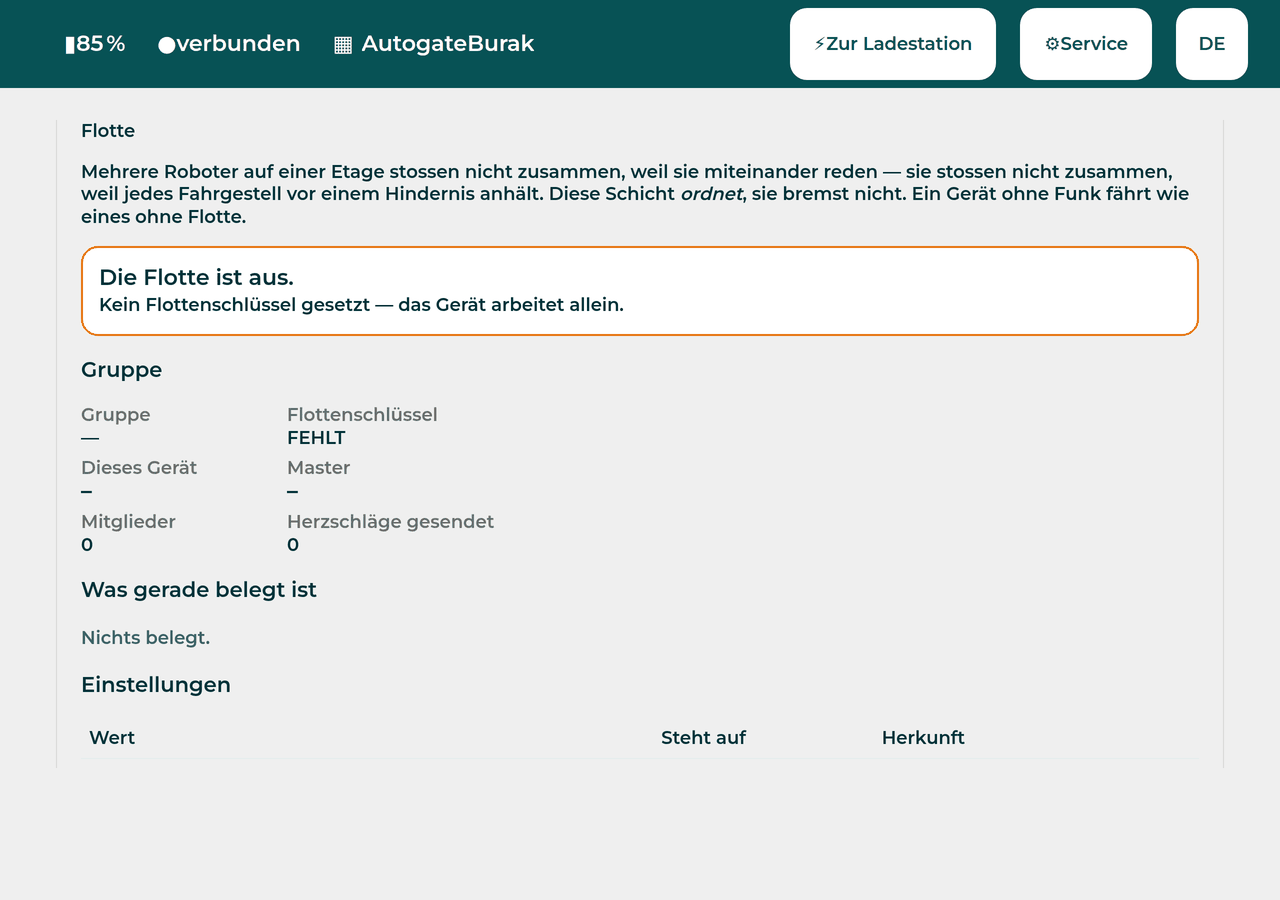
The screenshot shows a device with the fleet switched off — no key set, so it works alone. That is the honest default state and also the first thing to check when robots ignore each other. The sentence at the top of the section is the one to remember: this layer orders, it does not brake. Collision avoidance is the chassis stopping in front of an obstacle; the fleet decides who goes where first.
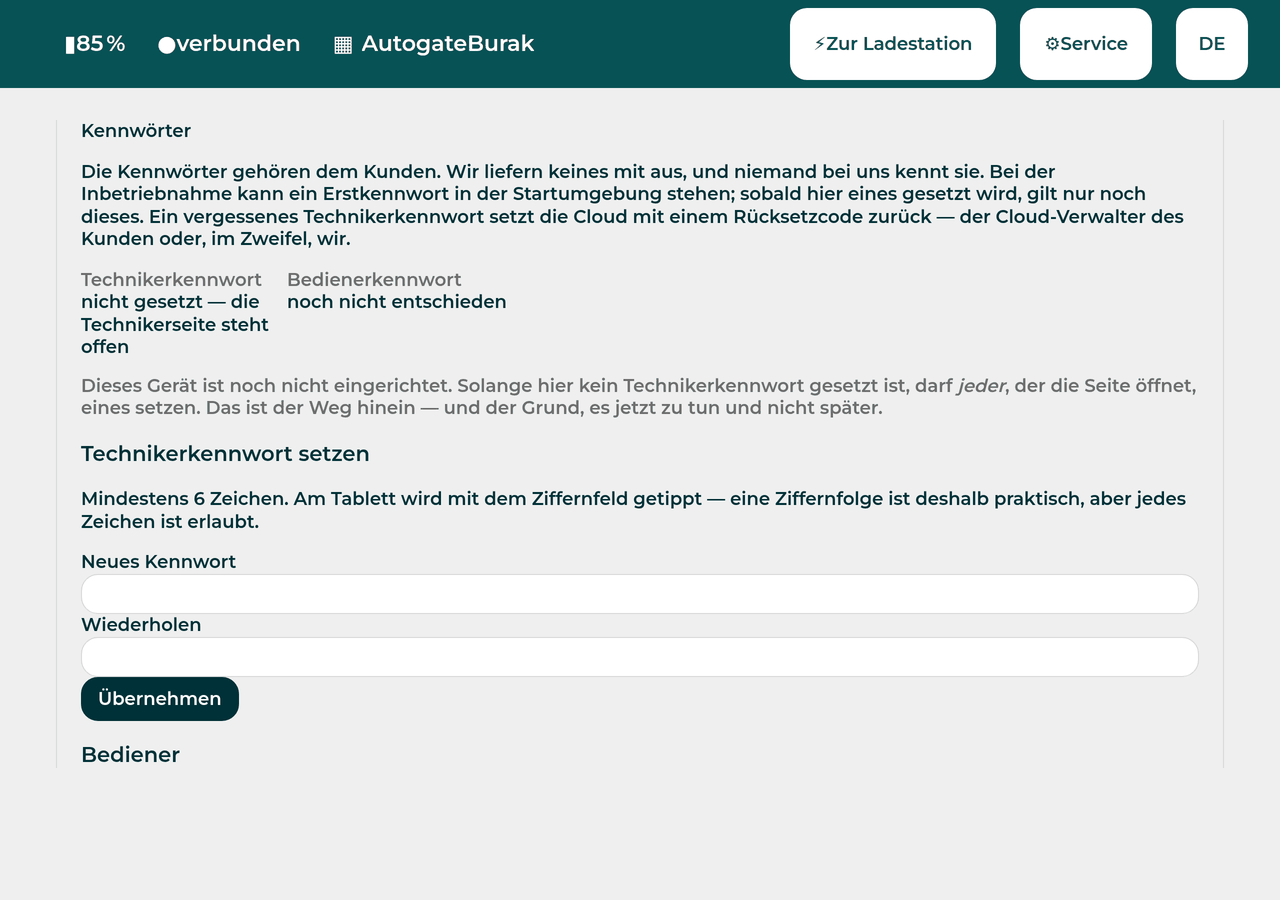
Passwords, finally, are the section a commissioning is not finished without. A device with no technician password lets anyone on the network onto this page, and the page says so in plain words rather than hiding it.
10. What this manual deliberately does not contain
- Addresses, serial numbers and identifiers of real installations. They belong in the commissioning record of that site.
- A recipe for reaching the chassis directly. The surface is the way in.
- Screens that do not exist yet. Where a capability is planned, it is named in Integration Status, not drawn here.
11. One small defect, found while taking these pictures
On the map screen, the hint line below the plan and the note about technical annotations run into each other without a separator — "…move it with your finger,4 technical annotation(s) to the map". Cosmetic, reproducible, recorded here rather than quietly fixed in a screenshot, because a manual that shows a better product than the one shipped is the fastest way to lose the reader's trust.